BDSP Animation Insertion/Creation Guide
| Written By | Special Thanks |
|---|---|
| Indigo | Yisuno |
Introduction
There are two different paths that you can take with making custom animations for BDSP. Both of these methods have been used successfully in the past with little to no problems.
- Animating in Blender and importing into unity.
- Animating with UMotion in Unity.
This tutorial will focus primarily on using Blender to animate since there are more resources on using that software and it’s the only one I know how to do.
There are only a few things that you will need in order to get started with making custom animations. Thankfully, all of them are free.
- Blender
- Animations can be done in here.
- Unity
- BDSP was built in unity, so most editing is done here.
- UnityFBX
- In order to export properly from Blender.
- Asset Bundle Browser
- A package for Unity that will allow you to repack FBXs.
- UABEA
- Asset repacker. Use this to replace original animation files.
- Asset Studio
- Unpacks models/animations from BDSP.
Ripping the Model + Animation
This step includes AssetStudio and a Dump of BDSP.
- The first thing you’ll want to do is get a legitimate, personally owned dump of BDSP. I won’t walk you through how to do that, but google is your friend.
- Open up Asset Studio, select load file, as seen below.

- For my example, I’m going to work on giving the trainer a new throwing animation. So I would select the pc001_19 file from my dump.

- For today’s example I want to edit the throw animation, which is named “advent_06”. So I typically organize the list on the left by type and select everything non animation (including the animator file) and the animation I wish to edit.
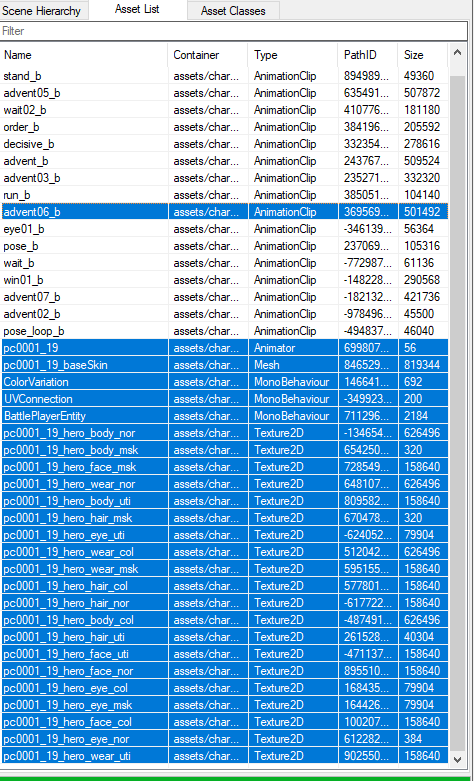
- Right click the blue area and select “export animator + selected clips”. Choose a destination and you will soon have an FBX bundle of the model and your selected animation.
Animating in Blender
This step includes Blender + your recently extracted model and animation.
- Once you open Blender, delete the cube, camera, and lights that are currently in your scene.
- Import the FBX you just extracted using assetstudio. You will have to zoom in a bit since BDSP models are super tiny.
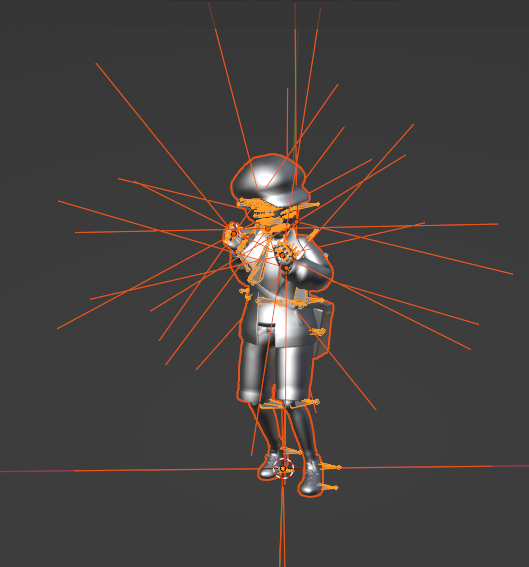
- From here you can manipulate the animation using techniques linked in the video above. Be sure not to delete any bones on the rig or add any new ones since rig imports aren’t possible at the moment.
- You can hide any bones or parts of the mesh that you’d like, but make sure to press alt + h when you’re done to unhide anything you’ve hidden.
- If you haven’t already, install the unityfbx plugin for blender. This can be done by going to edit → preferences → add-ons.
- Choose the unopened zip file from github when installing unityfbx.
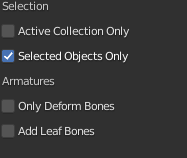
- Select everything in the scene relating to the model and animation by pressing “A”, including the keyframes of animation that you created. Then export the file as a unityFBX file
- Make sure to check the “Selected Objects Only” option when exporting.
- Now we’re ready to move to Unity!
Importing into Unity
This step includes Unity and Asset Bundle Browser
- Drag the newly exported unityFBX file that you created in Blender into your assets in Unity.
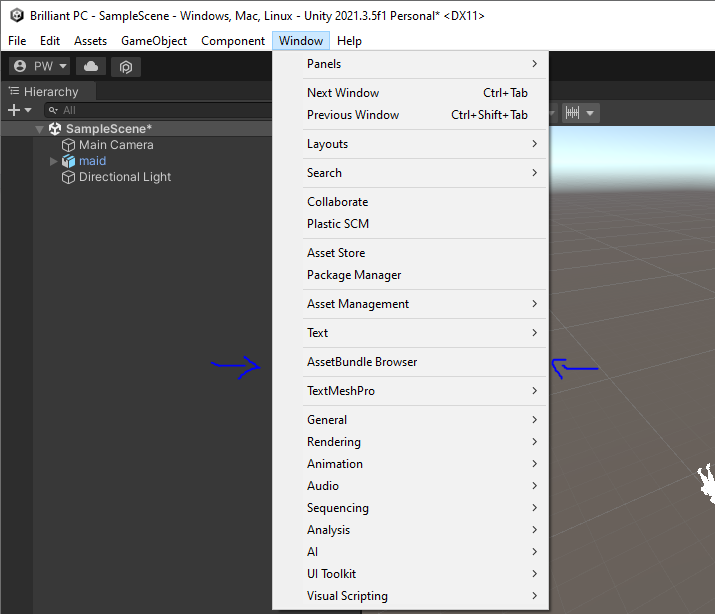
- Install the Asset Bundle Browser by going to package manager, located here

- Press the plus in the top left corner of the menu. Select add package from disk. Select the package.json file from the zip you downloaded earlier for the AssetBundleBrowser.

- Open up the asset bundle browser you just installed by clicking here
- When the menu opens, drag your fbx package into the menu. It should look something like this.
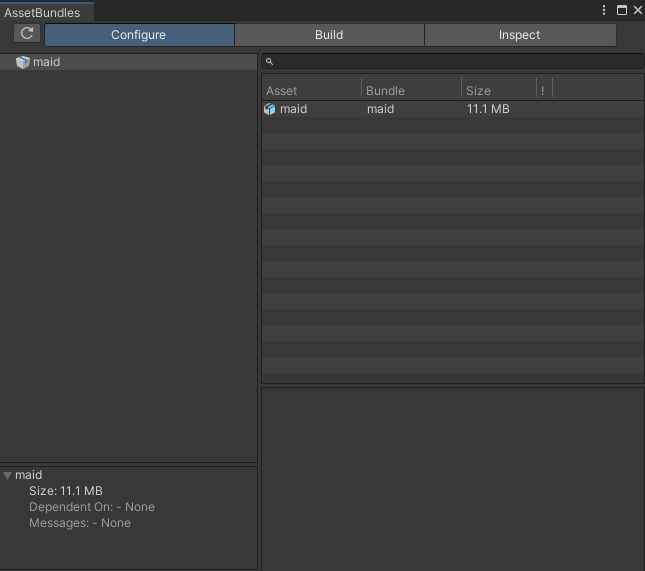
- Go to the build tab and then press build. It should export a file to your project folder that unity currently has open inside of the AssetBundles/Standalone Windows Folder.
Putting your Animation Back into the Game
This step includes UABEA
- Open UABEA. Open the file you just exported from unity. Press Info.
- Navigate to the animation you edited and select export dump, MAKE SURE YOU SAVE THIS AS A JSON FILE!

- Next, open up the original model/animation file from your dump and also go to the info tab.

- Select Import Dump and choose the JSON file from your edited animation that you just exported.
- Be sure to save this file in a different location from the file with a different name. Save under both the info tab and the general UABEA tab.
- Rename the file it exports to whatever the original filename was for the model/animation. Then put it in your mods folder.
TA-DA! You’ve got an animation done!
Helpful Tips
- A common issue with creating animations is the bone hierarchy getting messed up. This can either be edited by changing it in the anim’s text file or deleting a certain object in blender.
- The goal here is to make sure the rig starts with the origin and not “pc_xx”.
- I’ve noticed some issues with using 2022 versions of Unity, sometimes using a 2019 build works better.